Well, that is exactly what happened when I came across these Kakaoweckchen (Cacao Buns) on the #BakeYourOwnBread featured bread blog this month, Hefe und mehr. This site is actually a bread-lover's dream...breadie-bliss! While I marked lots of different things that I wanted to bake up in my oven, these buns were the thing that haunted me. I knew I wouldn't be able to rest until I made some.

It's times like this when I'm thankful for my tiny oven with only one rack. I had a second chance. I lowered the oven temperature to 350° F and made an extra slash in a couple of the buns (just to see how it would look)...and I slid the second batch in with a little prayer.

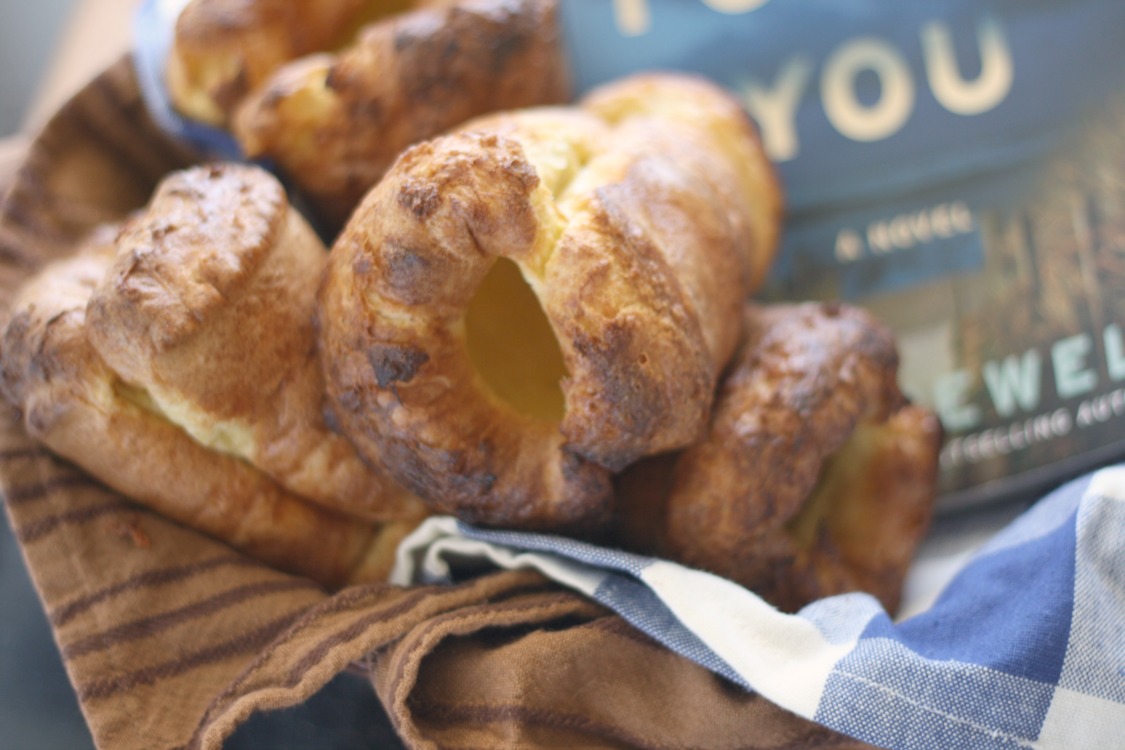
And on another note...both my husband and my daughter went straight for the darker rolls when I said they were clear (picture taking complete). They are two peas in a pod. I would gravitate towards the lighter, two-toned buns. They are partial to darkly baked bread and tortillas with burnt spots. This just means that not a single roll was snubbed - so that's a good thing!
These buns are lightly sweet and very soft and fluffy in the center. Know what the hubs said they reminded him of? (My favorite) Conchas. Minus that awesome sugary crust on top.
Cocoa Buns (Kakaoweckchen)

by
Prep Time: 5 hours (or up to overnight)
Cook Time: 25 minutes
Keywords: bake bread German
Ingredients (12 buns/rolls)
- 200 grams bread flour
- 250 grams milk, lukewarm
- 10 grams active dry yeast
- half of the preferment
- 150 grams bread flour
- 1 large egg, lightly beaten
- 30 grams (~2 Tbs.) butter, at room temperature
- 40 grams sugar
- 4 grams fine sea salt
- half of the preferment
- 150 grams bread flour
- 2 Tbs. cocoa powder
- 1 Tbs. water, room temperature
- 1 large egg, lightly beaten
- 30 grams (~2 Tbs.) butter, at room temperature
- 40 grams sugar
- 4 grams fine sea salt
Instructions
for the preferment:Dissolve yeast in the lukewarm milk and then mix with flour. Cover with plastic wrap and ferment in a warm place until risen and bubbly, up to 3 hours. At this point you can finish the recipe or refrigerate the preferment overnight. If you refrigerate it, remove from fridge and let sit at room temperature for an hour or two before continueing on.
Divide preferment (~425 grams total) evenly into 2 medium-sized bowls (it will be sticky). Add ingredients for white dough to one bowl and ingredients for brown dough to the other bowl.
Stir each bowl ingredients together with a wooden spoon (do white dough first if using same spoon), beating swiftly until all of the dry ingredients are absorbed into the wet and the dough pulls away from the side of the bowl. Dough will remain wet and sticky. Cover each bowl with plastic and let sit at room temperature for 1 hour to rise (should just about double).
Line two baking sheets with silpats or parchment paper.
One bowl at a time, turn risen dough out onto a heavily floured surface. Flour your hands and quickly knead the dough(s) until they are no longer sticky.
Divide each color of dough into 12 basically equal (41-43 grams each) portions and form them into balls. Make sure your work surface stays lightly floured to prevent sticking. Flatten the white dough into a disc using your hands. Wet your hands lightly and roll the brown dough ball around in your hands to lightly wet the surface. Set this lightly wetted brown dough ball on the top and in the center of the white dough disc. Gently pull the white dough up and around the brown dough. The dough should pull and stretch just fine. Once all the sides have been pulled up and around the center dough, pinch to close.

Turn dough over so that the seam is down and turn gently between cupped hands to re-form the dough. Set onto prepared baking sheet. I find it easiest to do each step with 6 pieces of dough at a time (form 6 discs, then wet 6 balls, then enclose the balls and form them). 6 buns fit comfortably on a half-sheet pan (regular sized baking sheet). Repeat until all the buns are formed.
Preheat oven to 350° F.
Cover lightly with plastic wrap and allow to rest at room temperature until risen, ~30 minutes. Slash the buns down the center (one line or a "+") after the first 10 minutes of rising.

Slide into preheated oven and bake for ~25 minutes or until lightly golden. Buns should register around 190°-200° F when a thermometer is inserted in the center. Slide buns onto a wire rack to cool.
Good warm (I like them best when slightly warm) or at room temperature. Store in an airtight container once completely cool.
If your oven is not big enough to bake two sheets at once, place one sheet in the refrigerator while one is rising. Once you've placed your first baking sheet in the oven, remove second sheet from fridge and let it rise at room tempeture while the first one bakes, slashing after 10 minutes. Place in oven after 30 minutes is up.
Powered by Recipage

Yeastspotting